How I Turned My Travel Photos Into a Gallery Wall
There was this one wall in my bedroom nook that I kept coming back to. It felt unfinished, like something was missing. I looked at artwork online, browsed HomeGoods, checked thrift stores, but nothing ever felt quite right. I didn’t want to fill it just for the sake of it, I wanted it to actually mean something.
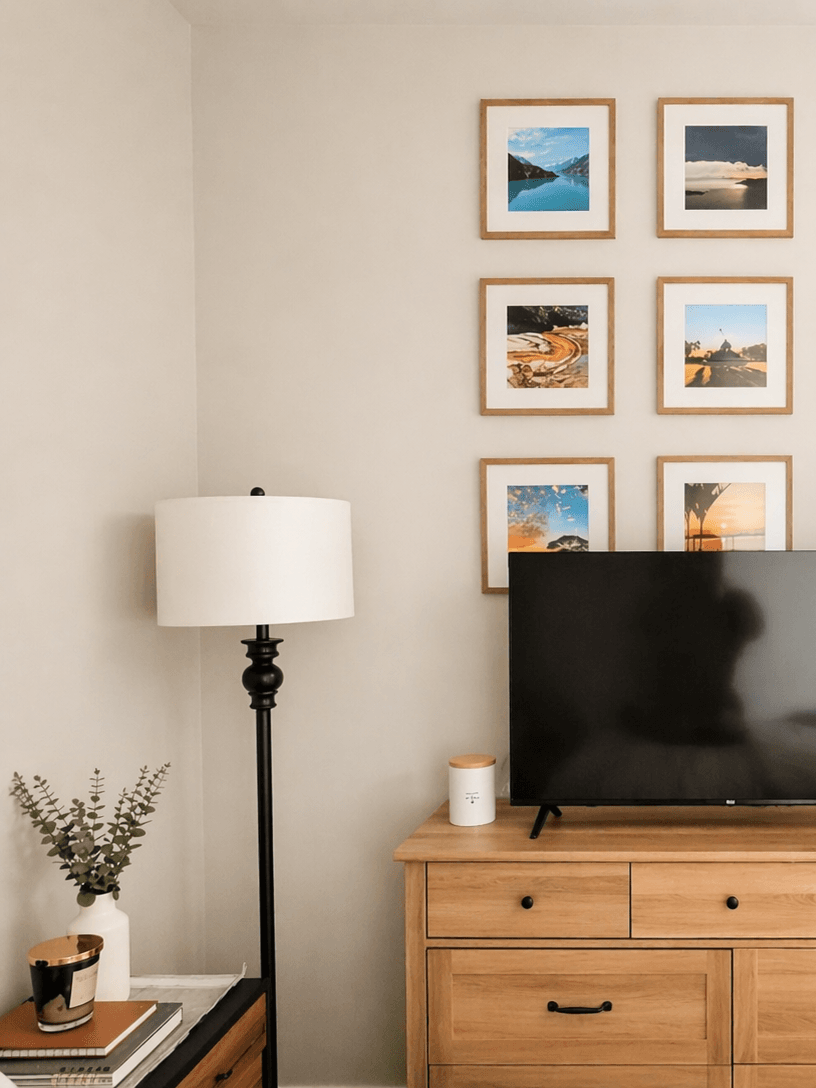
The empty wall behind the TV, begging for something to bring it to life.
One day I was lying in bed, staring at the same empty wall, when it finally clicked. I’ve traveled to a lot of places over the years, and I take a lot of photos when I do. Most of them just sit on my phone, never to be looked at again. I realized that I already had something better than anything I could buy. Photos that were meaningful to me.
So I decided to build a wall out of my own photos.
The Idea
I knew I didn’t want to do another wall of family or Olive photos. I love them, but my apartment is already full of their pictures. I wanted something that still felt meaningful to me and had a story behind it, but wasn’t immediately obvious to everyone else.
I started looking on Pinterest and kept coming back to really clean grid layouts. I already have more collage-style, less structured setups around my apartment, so I liked the idea of doing something more structured here to switch it up and keep the space from all feeling the same.
I kept coming back to setups like this. Large mats, oak frames, and colorful photos that didn’t feel chaotic.
From there, I built the idea out:
A grid of square prints
Consistent sizing
Neutral frames to match my oak dresser
Enough spacing to feel airy, not crowded
I wanted it to feel calm and curated, not like a collage.
Choosing the Photos
This part took the longest, but it was also my favorite.
I went into Google Photos and created an album called “Travel Photo Wall.” I dropped in anything that caught my eye. No overthinking at first, I would refine later.
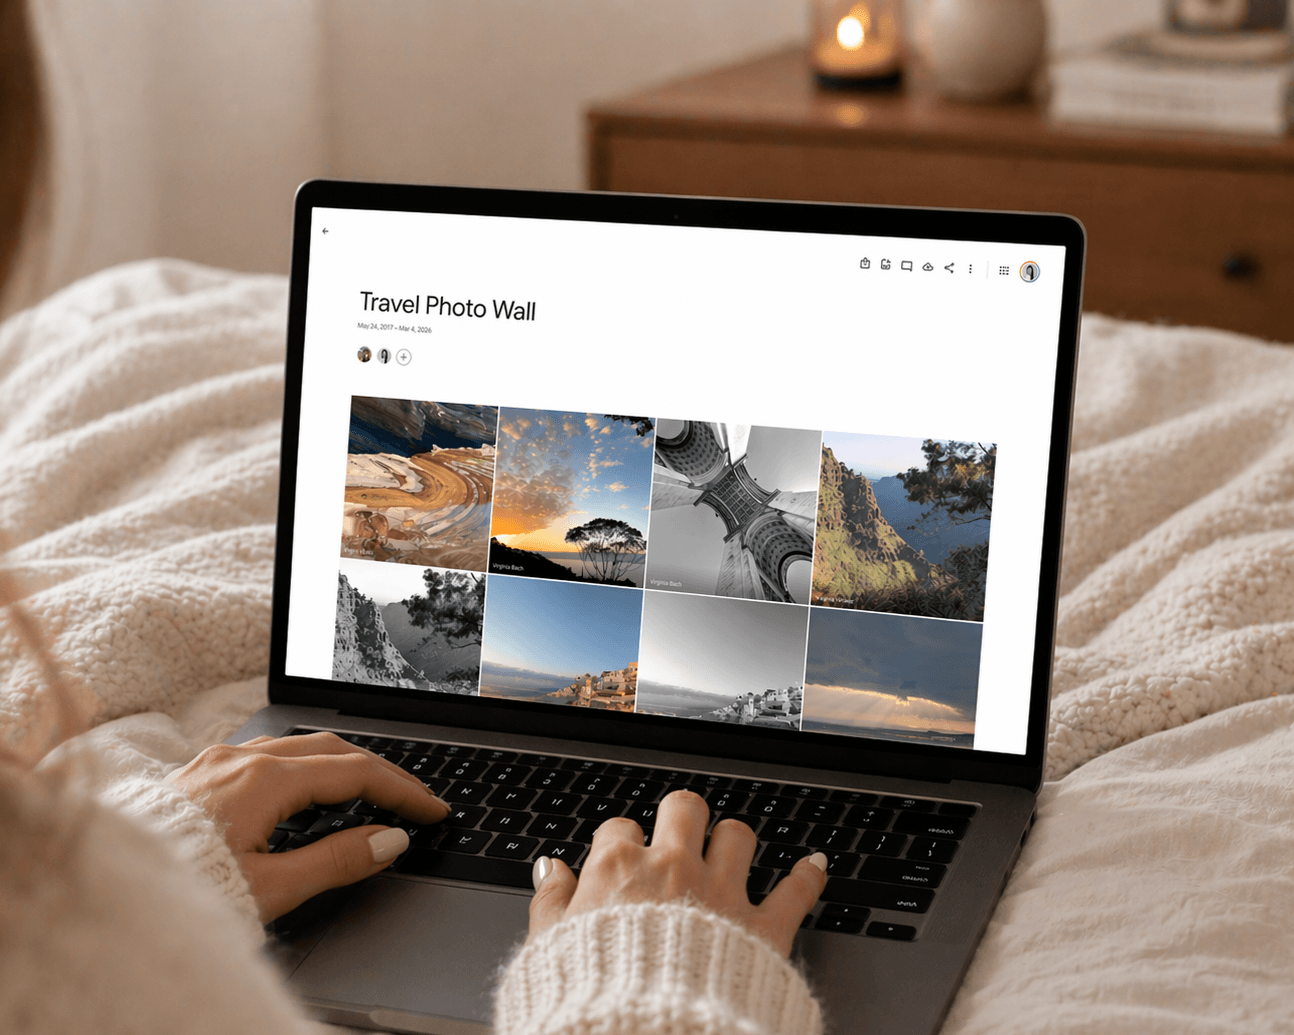
I played around with color and black and white versions, and saw how different photos looked together.
Once everything was in one place, it was much easier to start narrowing it down. My goal was one photo per location so the wall felt balanced and not repetitive. I almost accomplished that, but Greece was so beautiful I ended up choosing two photos from there.
The locations I landed on were:
Alaska
Greece (x2)
France
Hawaii
Washington DC
Costa Rica
Wildwood, NJ
Croatia
All photos were from places that I consider home or that I had traveled to in the past.
I made small edits where needed. A little contrast here, slight brightness adjustment there. Nothing heavy. I wanted them to still feel real.
Printing & Framing
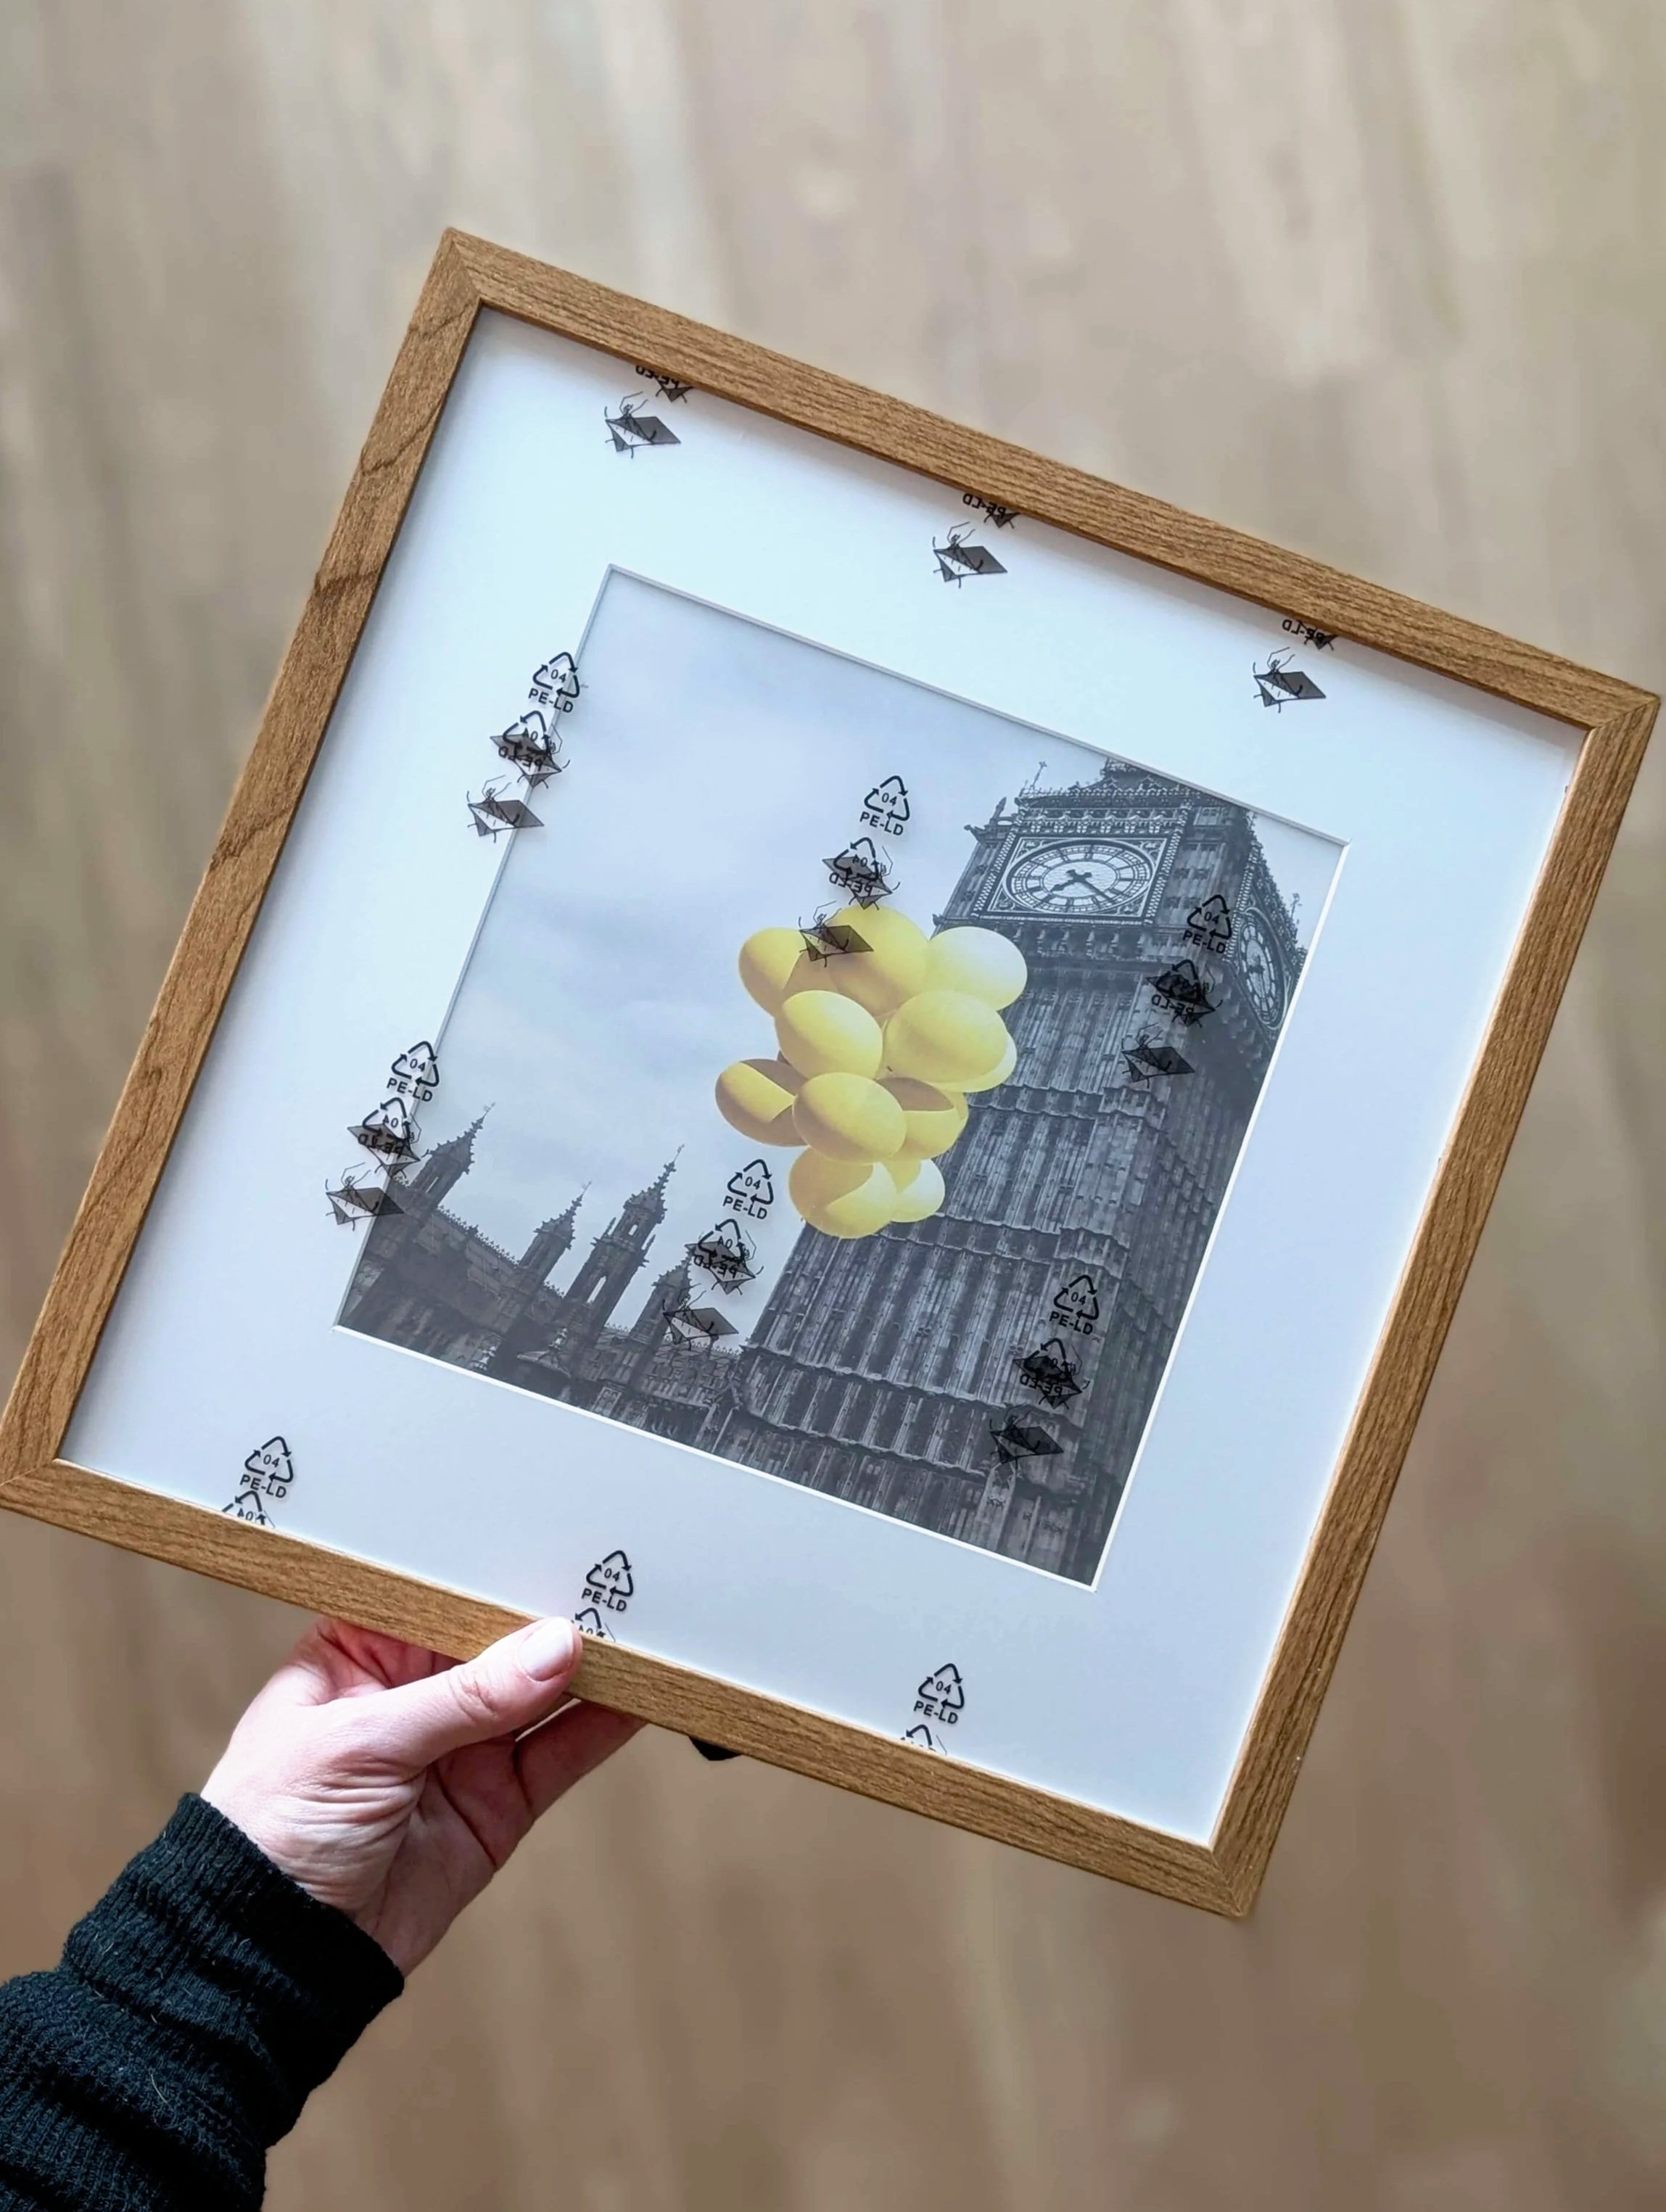
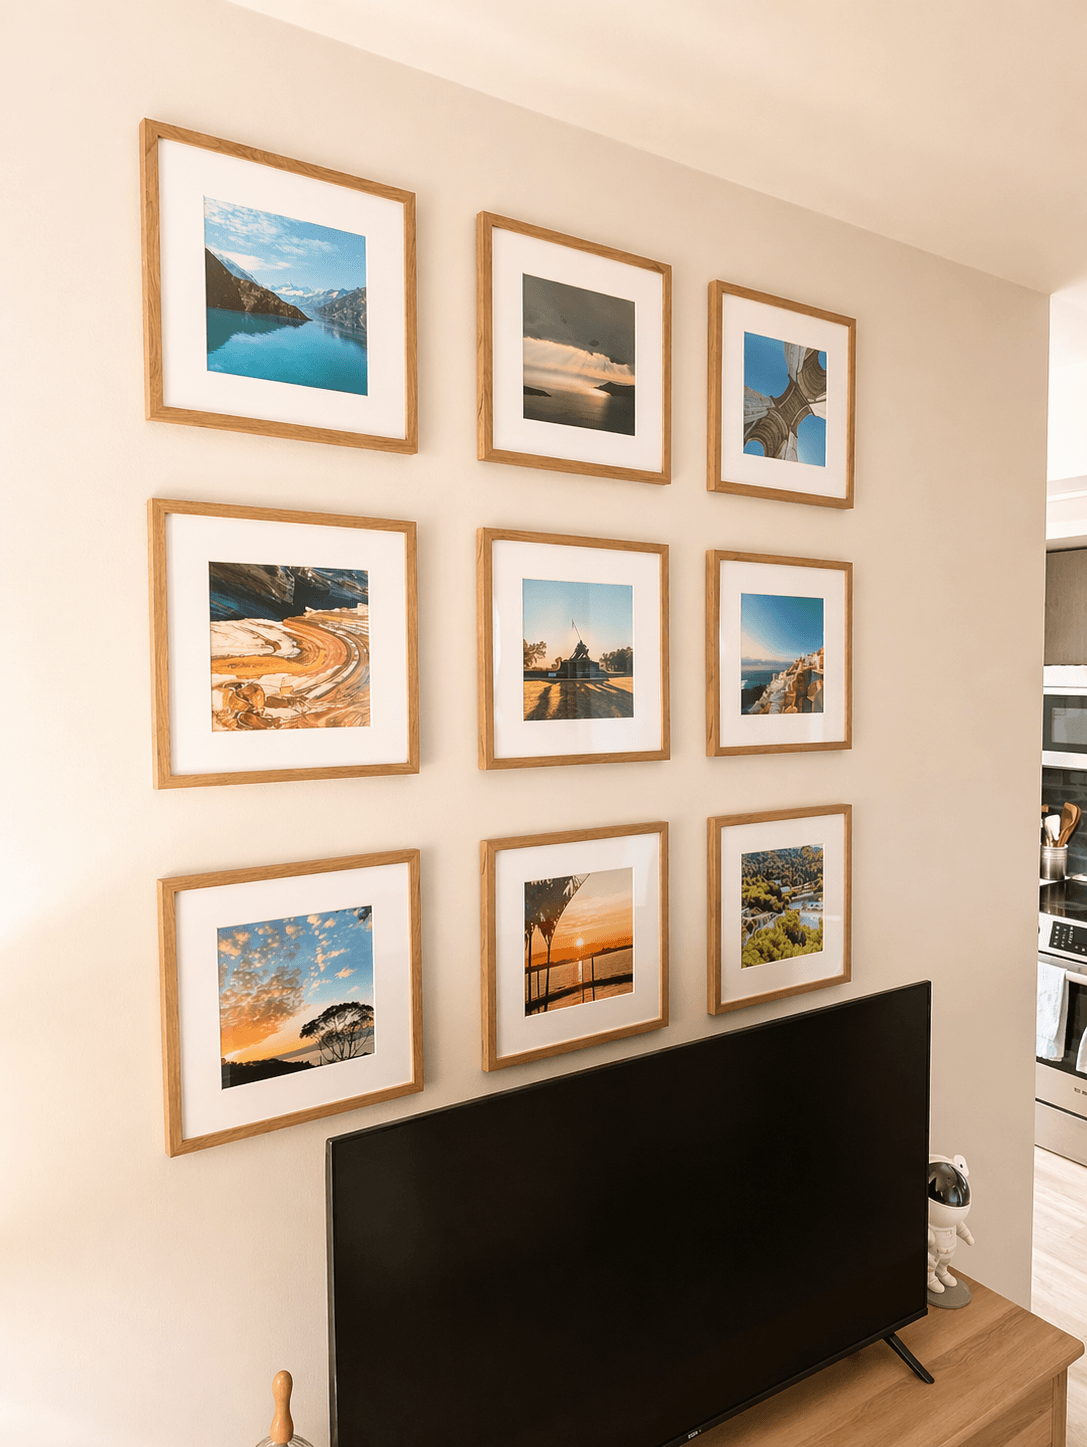
I started with the frames so I could figure out what size to print the photos. Since I was planning to use CVS, I checked their sizing options and landed on 8x8 prints.
From there, I found 12x12 frames with a wide mat from Amazon that matched the look I was going for and worked with the sizing. I was able to get the full set for under $40, which felt like a win.
Once everything was ordered, I uploaded my photos to CVS and selected the 8x8 size and paper type. The process was really easy, and the prints came out great. You could definitely print at home or somewhere like FedEx, but this worked well for me.
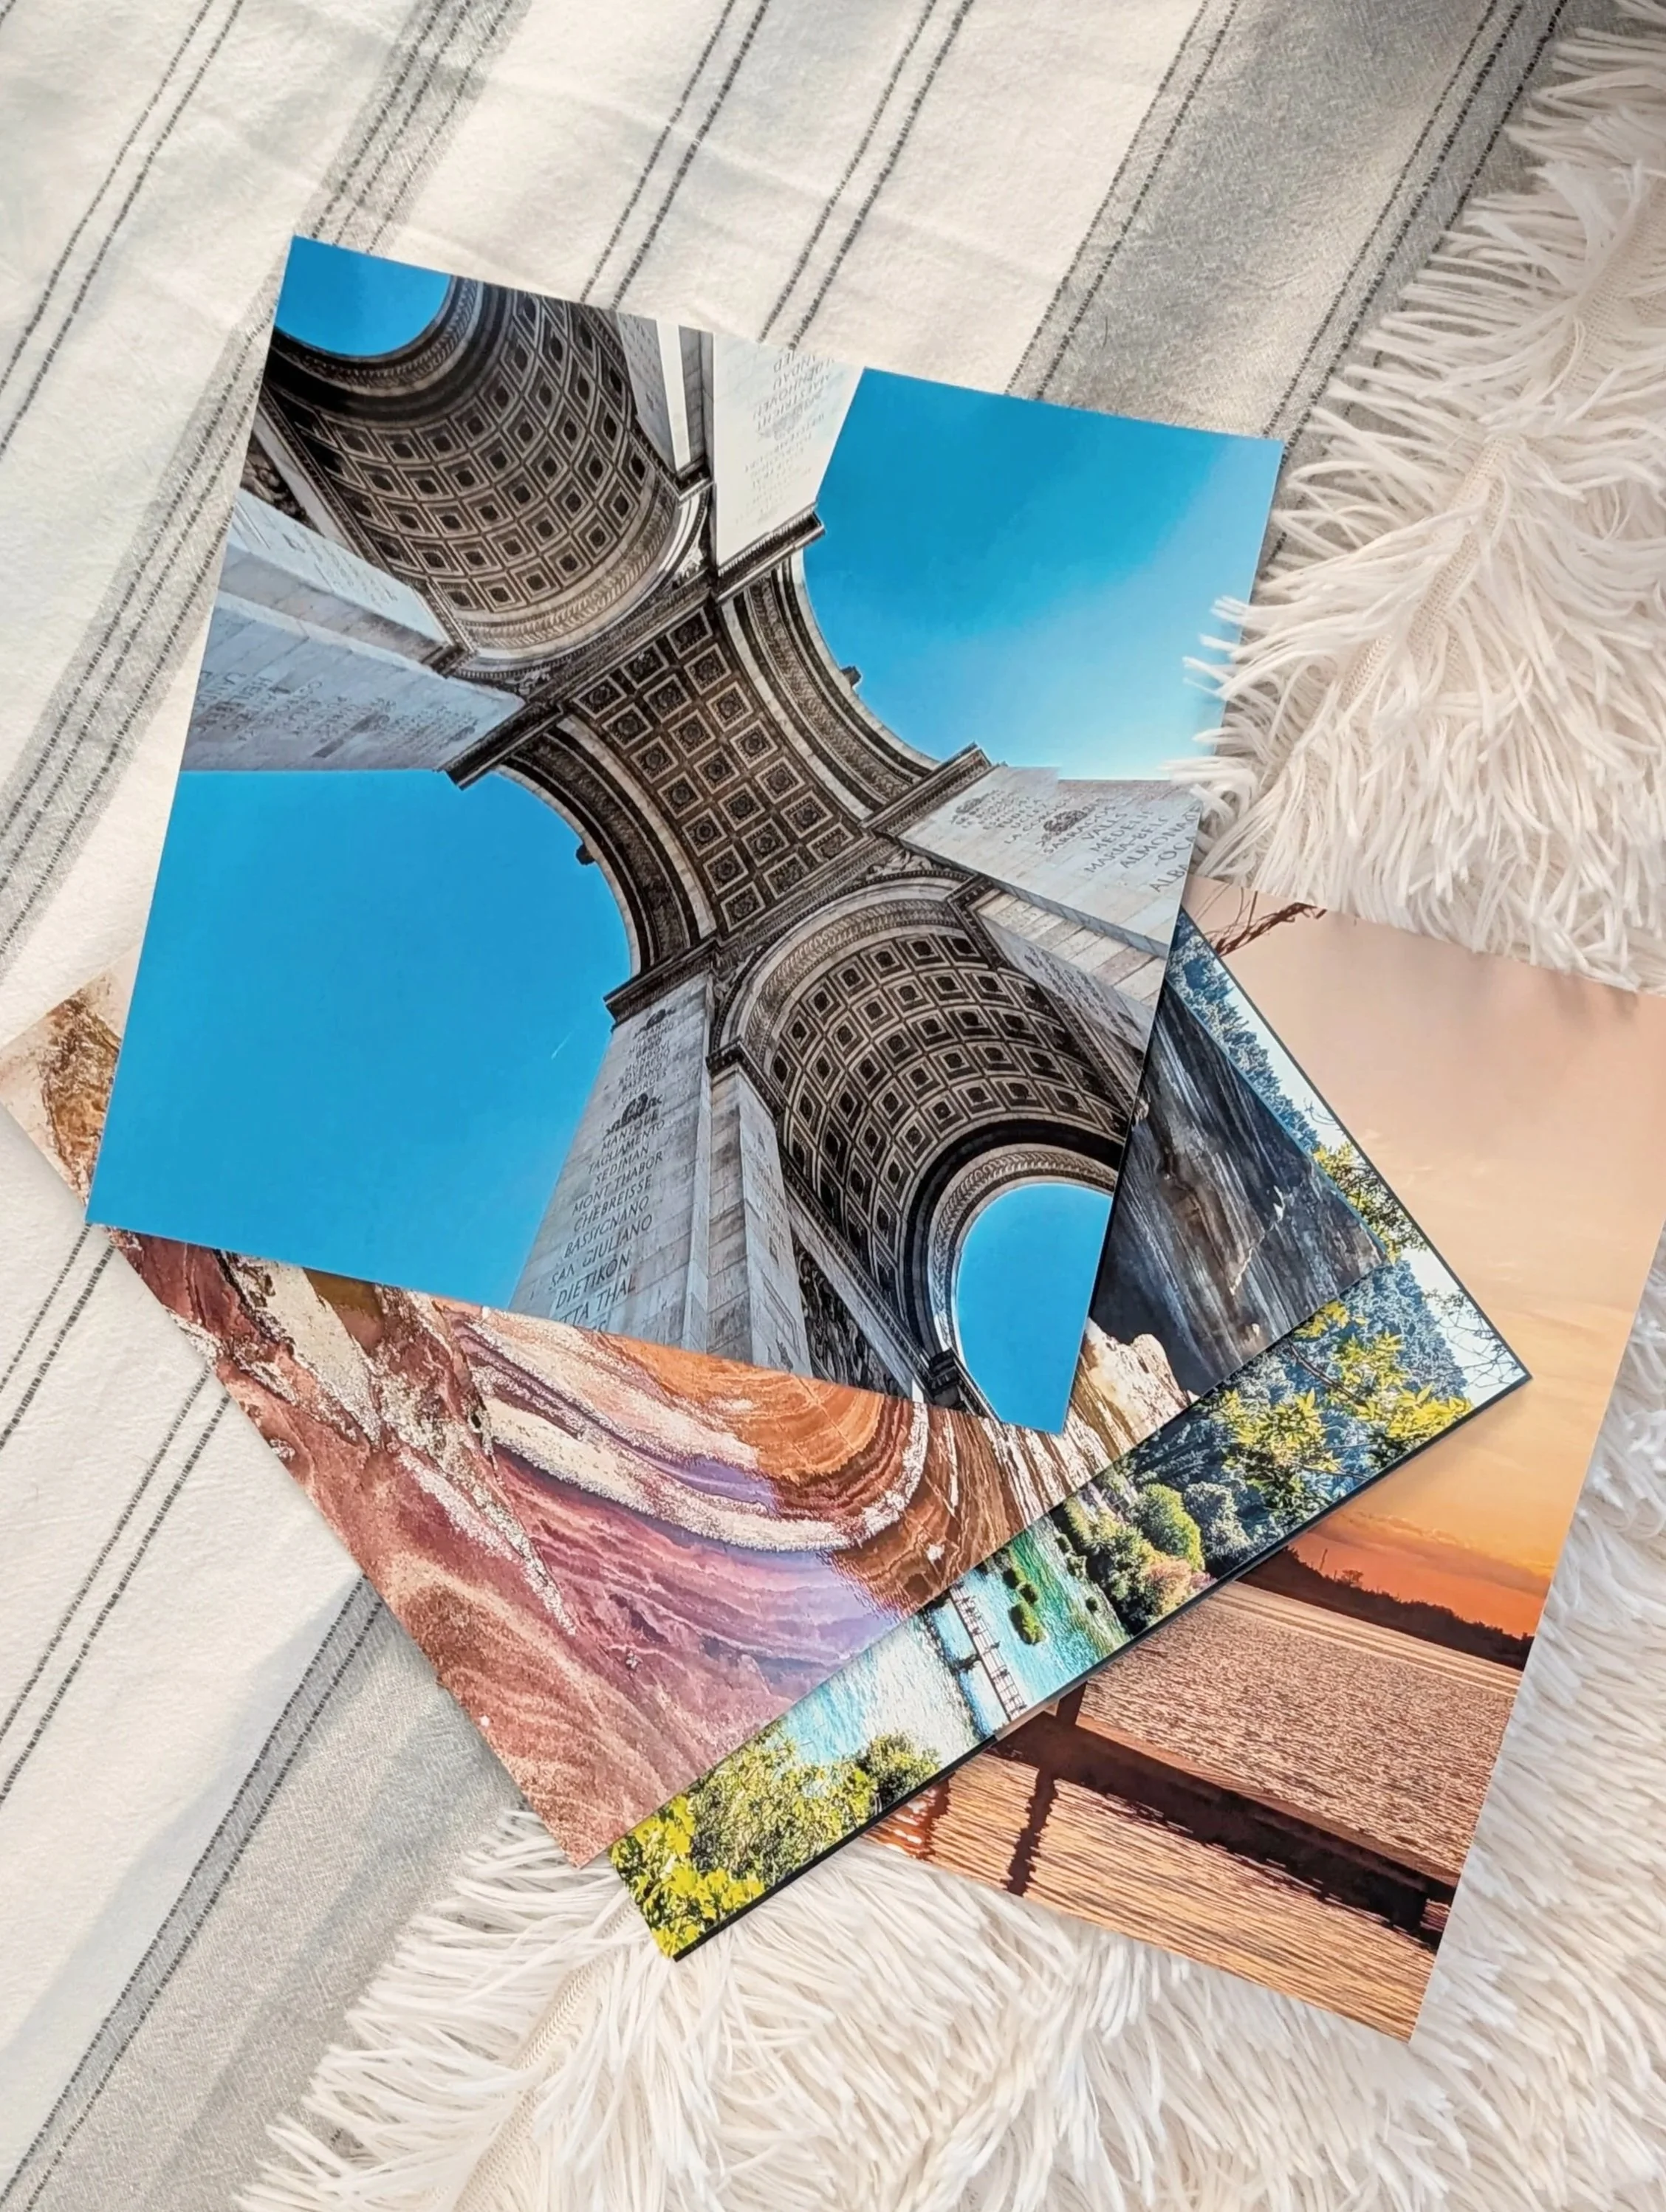
The photos came out more vibrant than I expected!
The matting made a bigger difference than I expected. It gave each photo some breathing room and made the whole wall feel more intentional. I also made sure the wood tone of the frames matched my dresser, which helped tie everything together.
Before putting the frames together, I lined each photo up exactly where I wanted it and used a small piece of tape to hold it in place. I’d recommend doing this, otherwise they can shift around when you’re hanging or adjusting the frames. I used medical tape since it’s a little more gentle on the paper, but any tape will work.
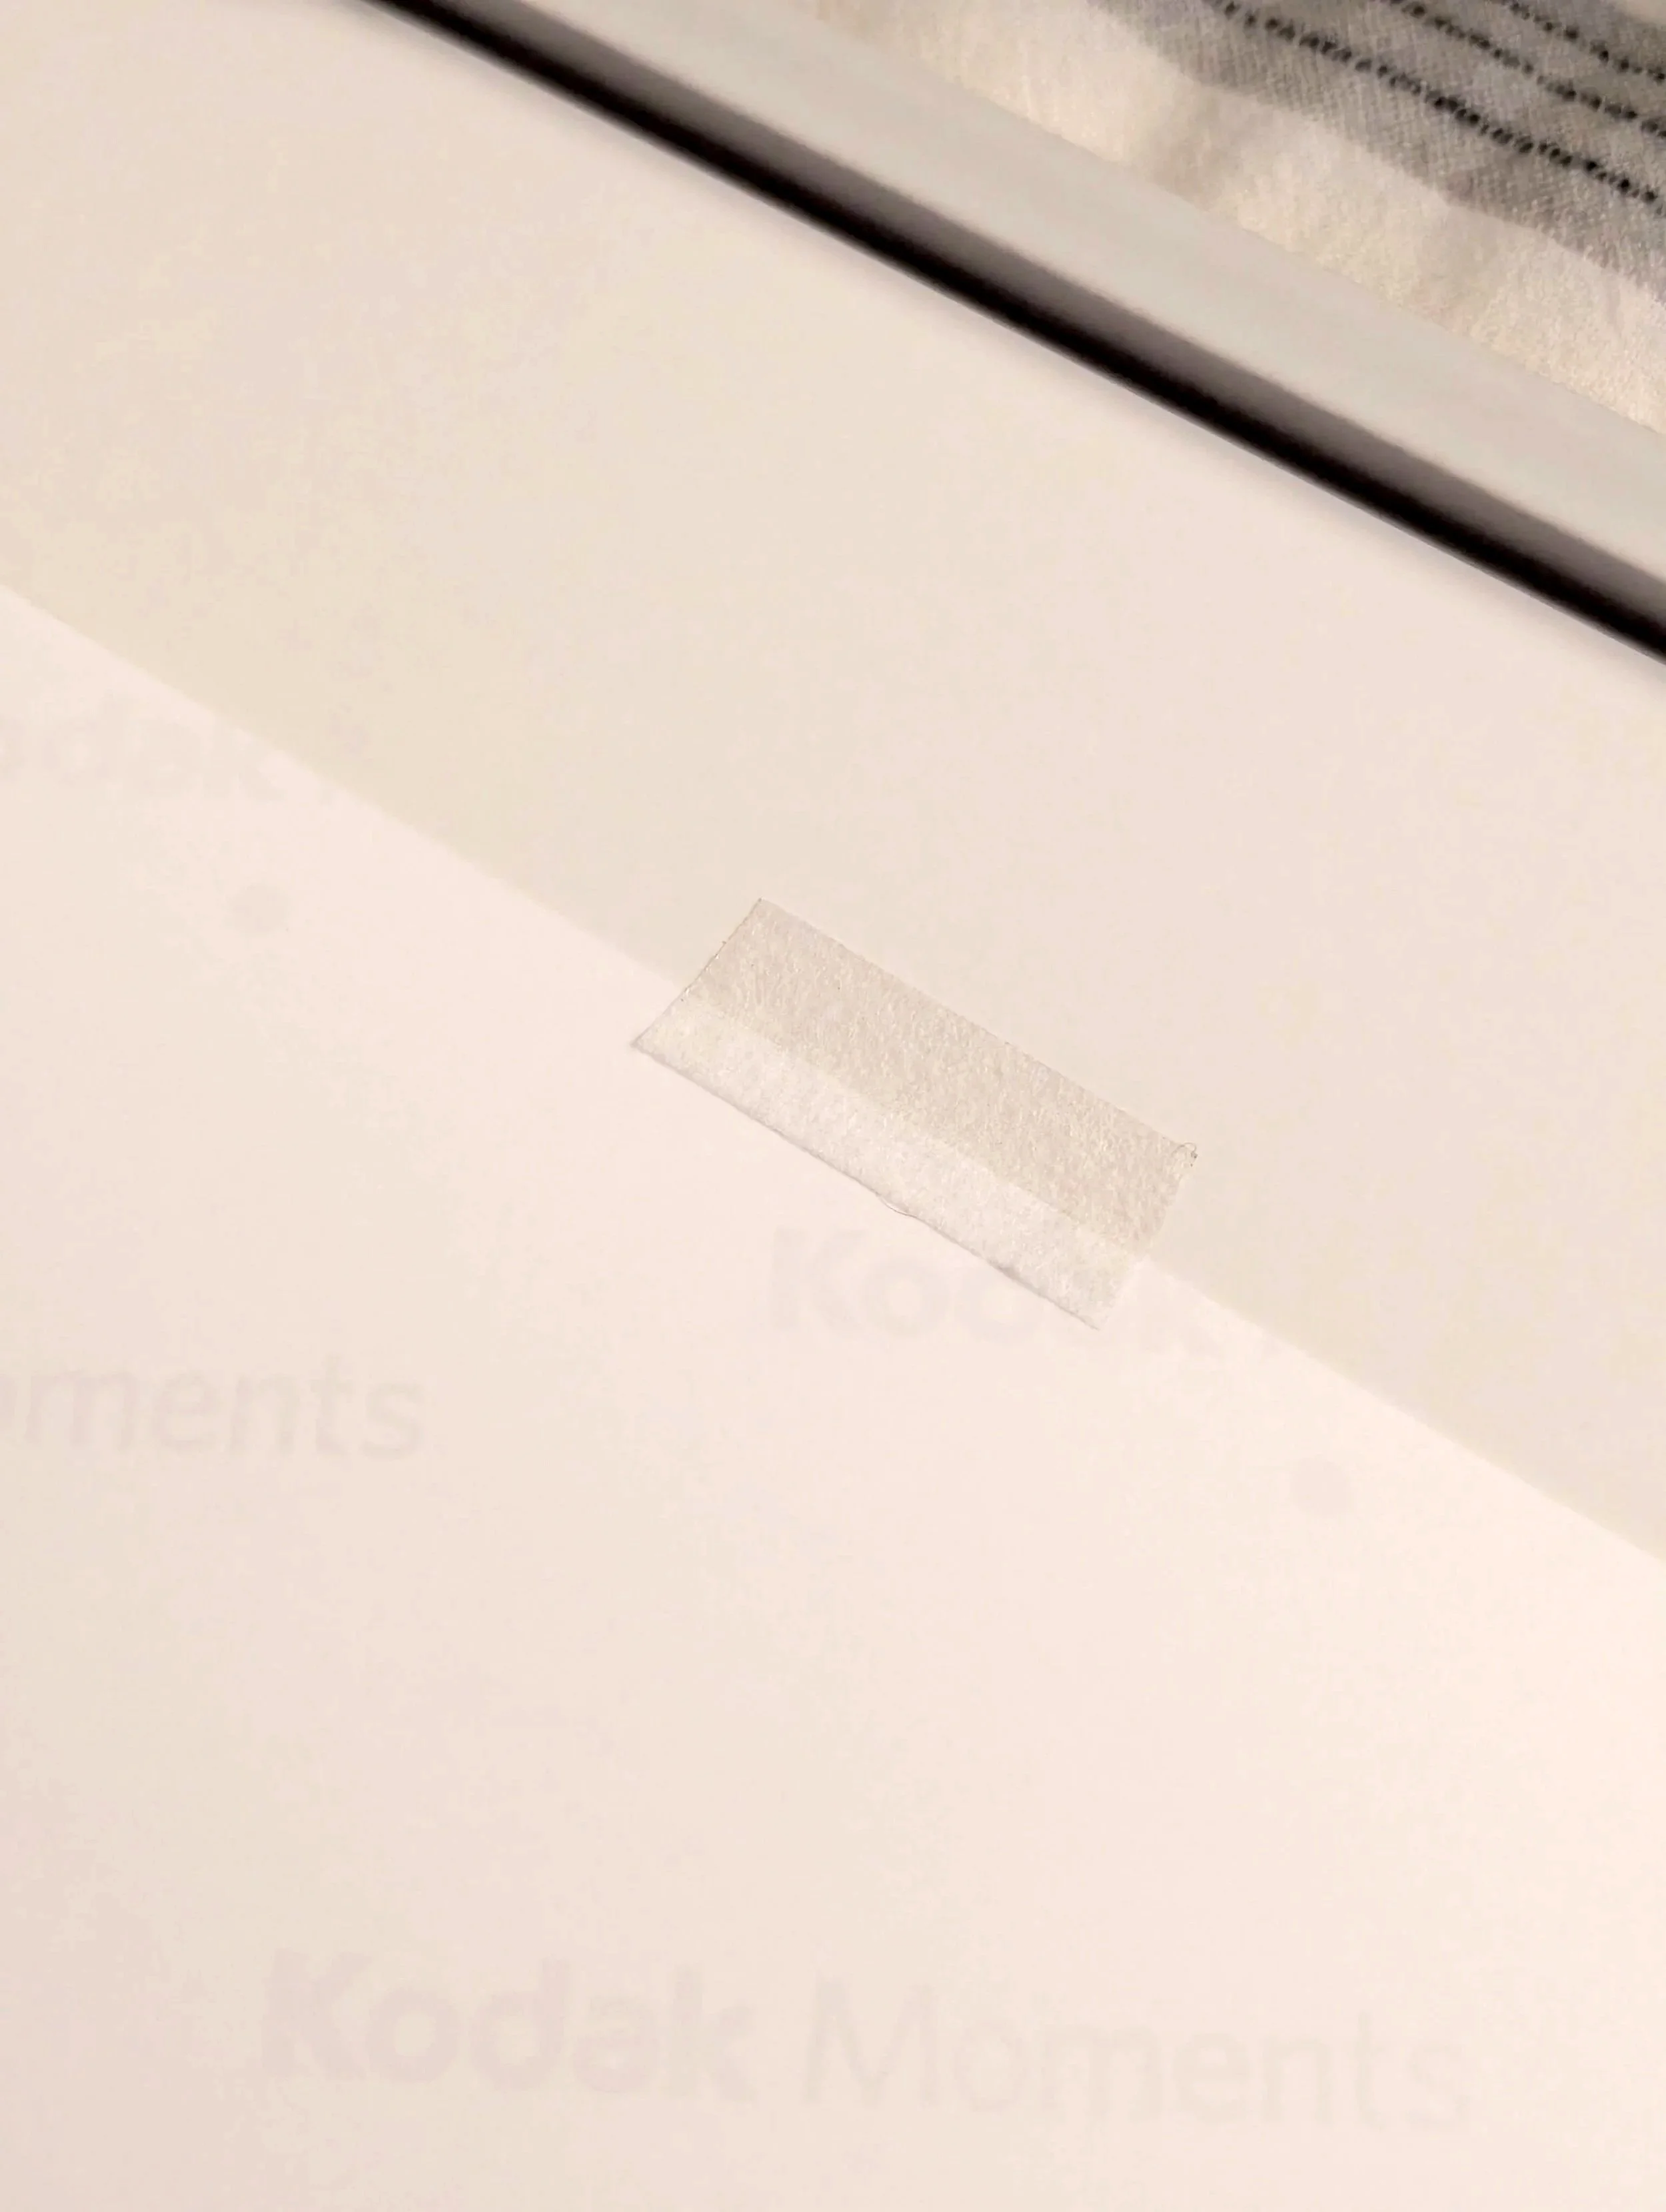
Make sure the photo is centered on the mat, and secure with the tape.
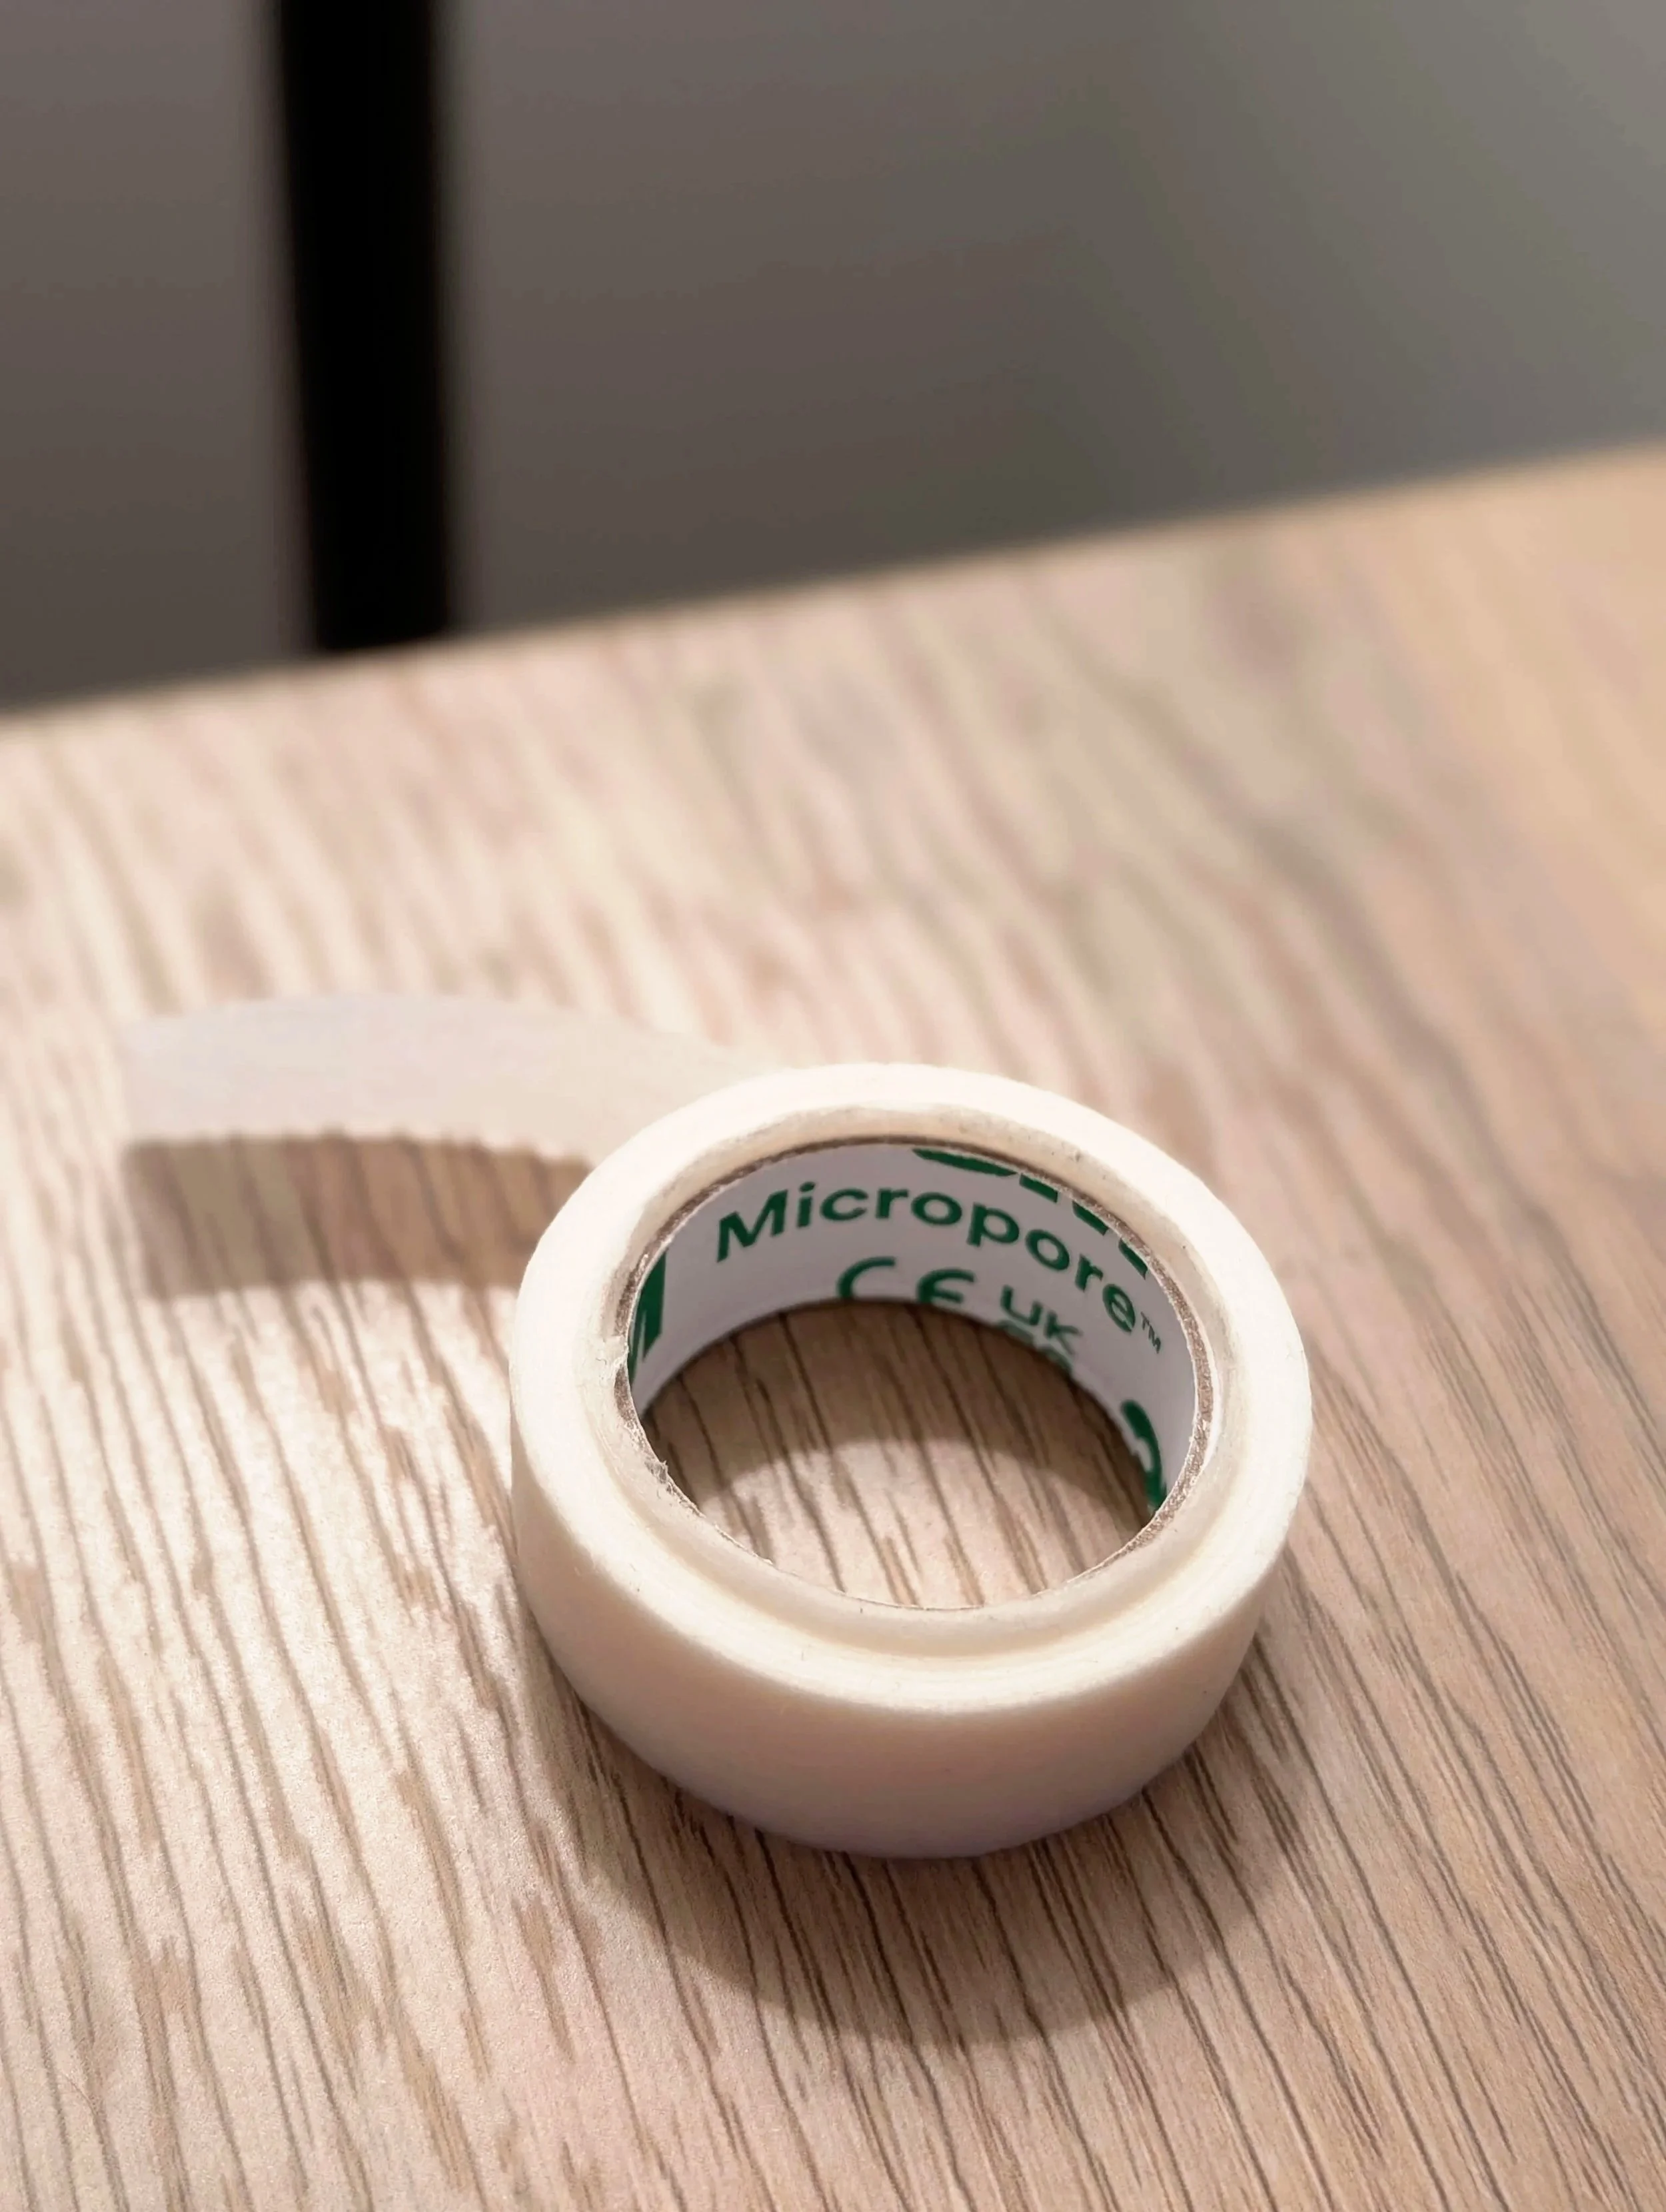
This 3M micropore tape works well for this.
Hanging the Frames
This was the hardest part. Way harder than I expected.
I measured the wall both horizontally and vertically to figure out spacing. Then I mapped out where each frame would go and how much space I wanted between them.
Once I had that, I marked where the nails needed to go.
Even with a plan, it still took time. I double checked everything and still had to adjust a few placements. I ended up using ChatGPT to sanity check my measurements, which actually helped a lot.
After about an hour, everything was up.
It took some time to get each photo level and evenly spaced, but I got there. You’ll definitely want a level for this part, it makes a big difference.
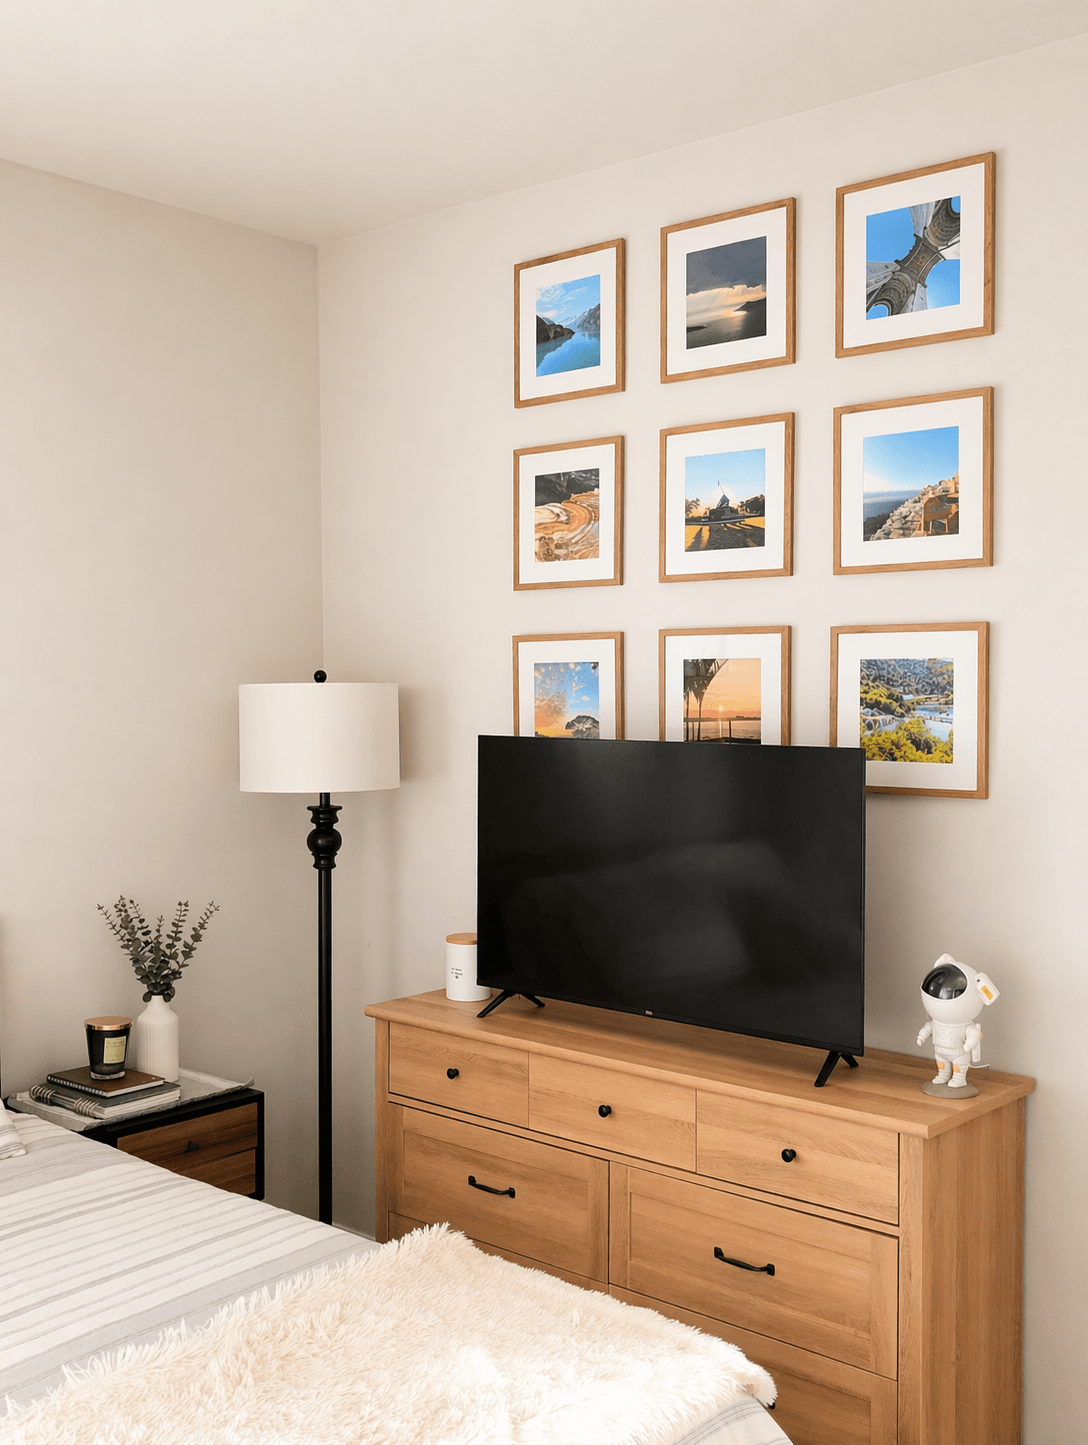
The Final Product
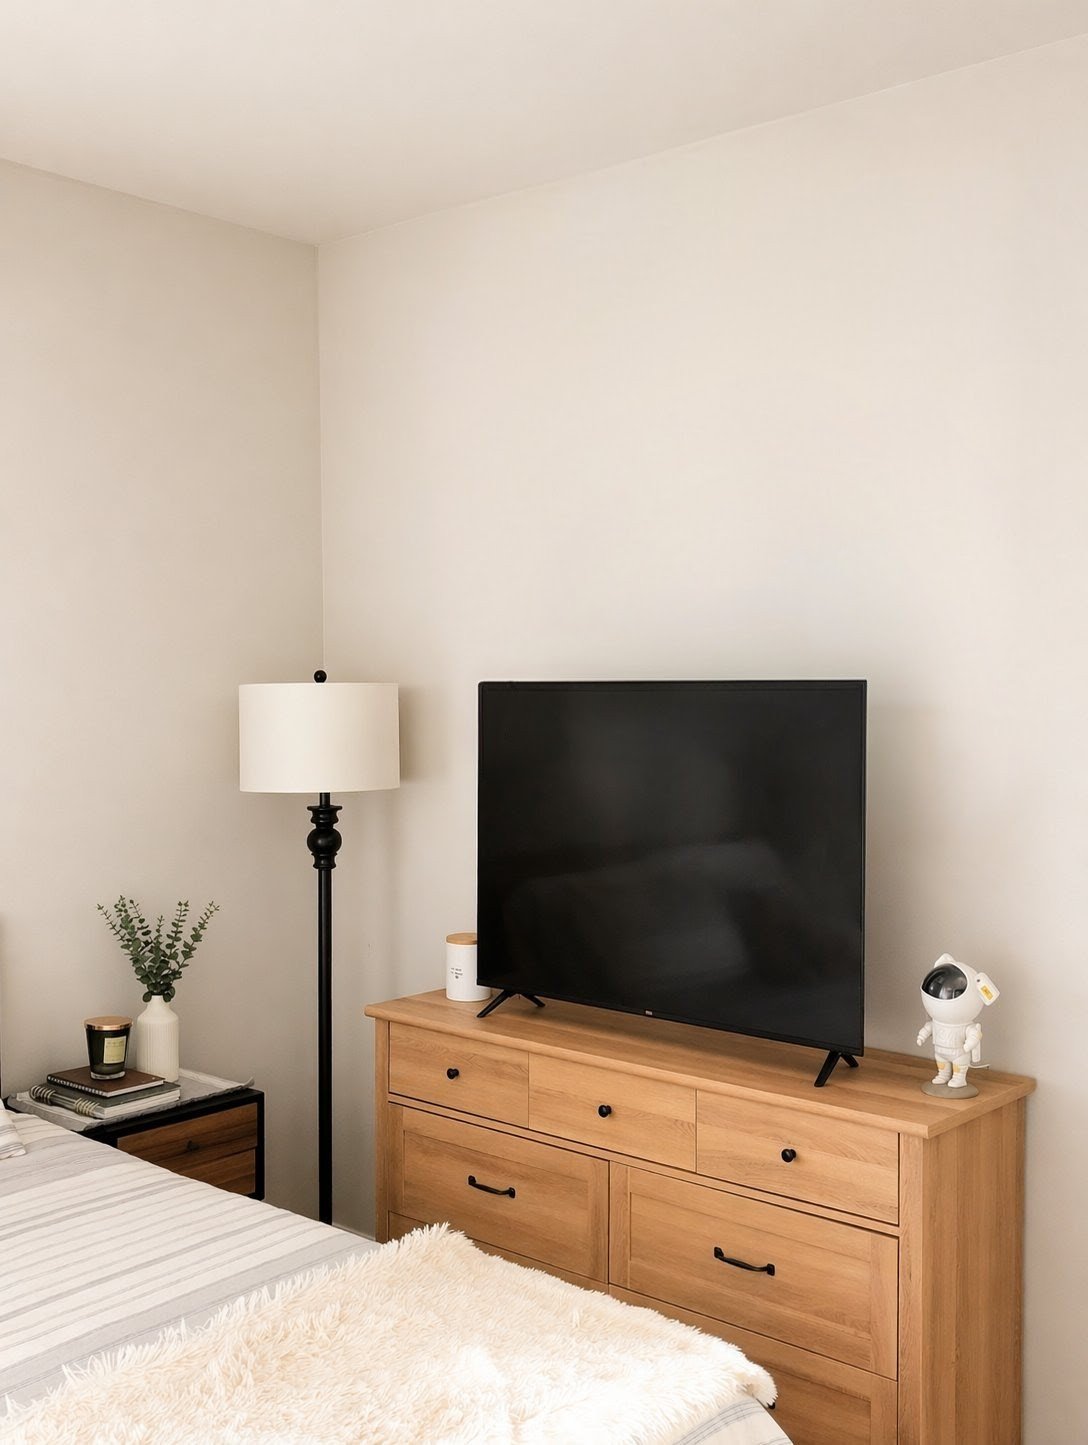
Before
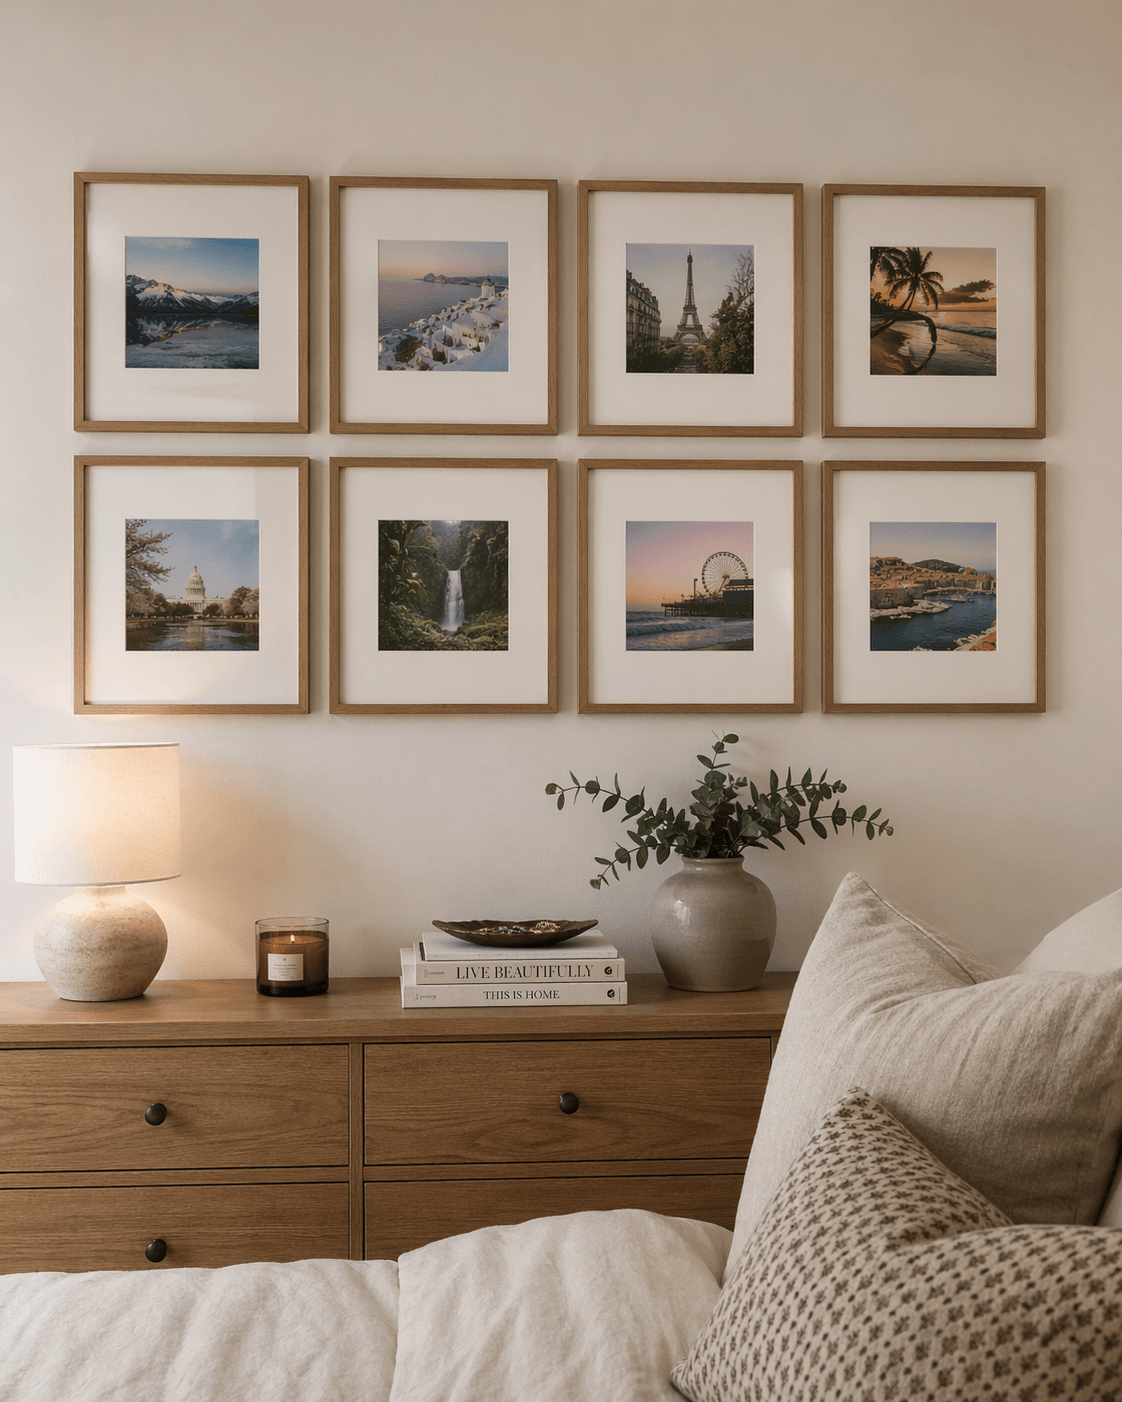
After
I really like how it came out.
It changed the feel of the space more than I expected. The wall draws your eye up, so the ceilings feel a little higher, even though nothing about the room actually changed. It also brings in color in a way that still feels calm and cohesive, not busy or overwhelming.
But the best part is that it’s mine.
It doesn’t feel like something I picked up just to fill a space. It feels intentional. Every photo was chosen for a reason. There’s a story behind each one, even if it’s just for me.
It changed how the space feels day to day. It’s not just a blank wall anymore, it’s something I actually enjoy looking at. It made the whole nook feel more finished, more lived in, and more like home.
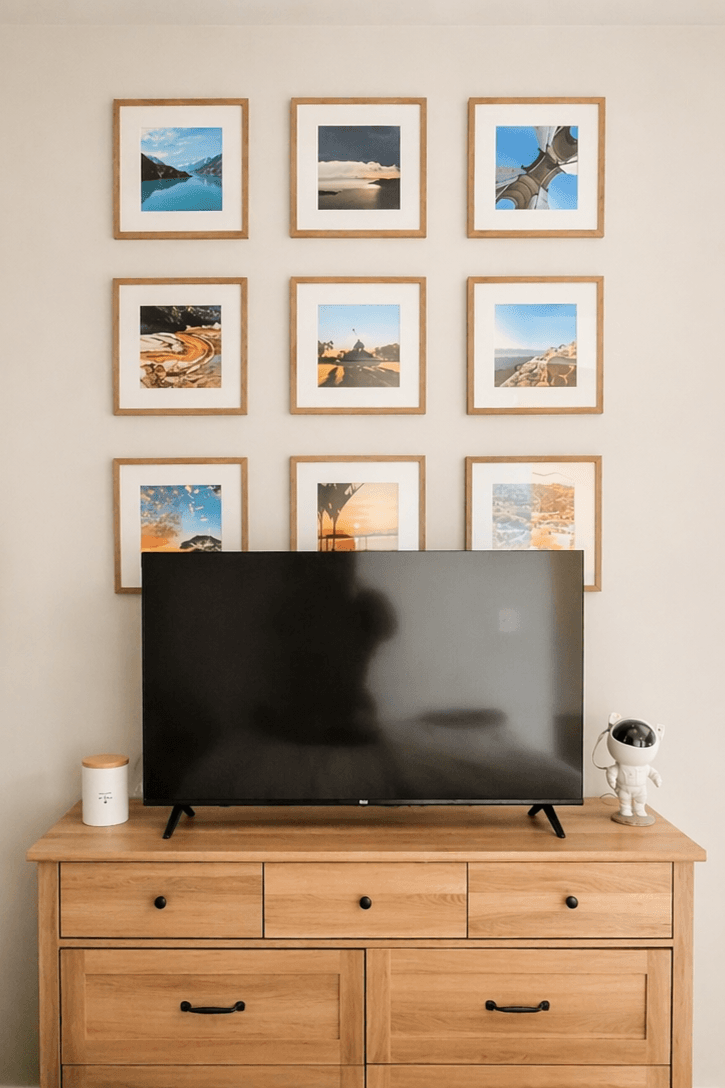
The final photo wall, a collection of places I’ve been, brought together in one space.
Try it yourself
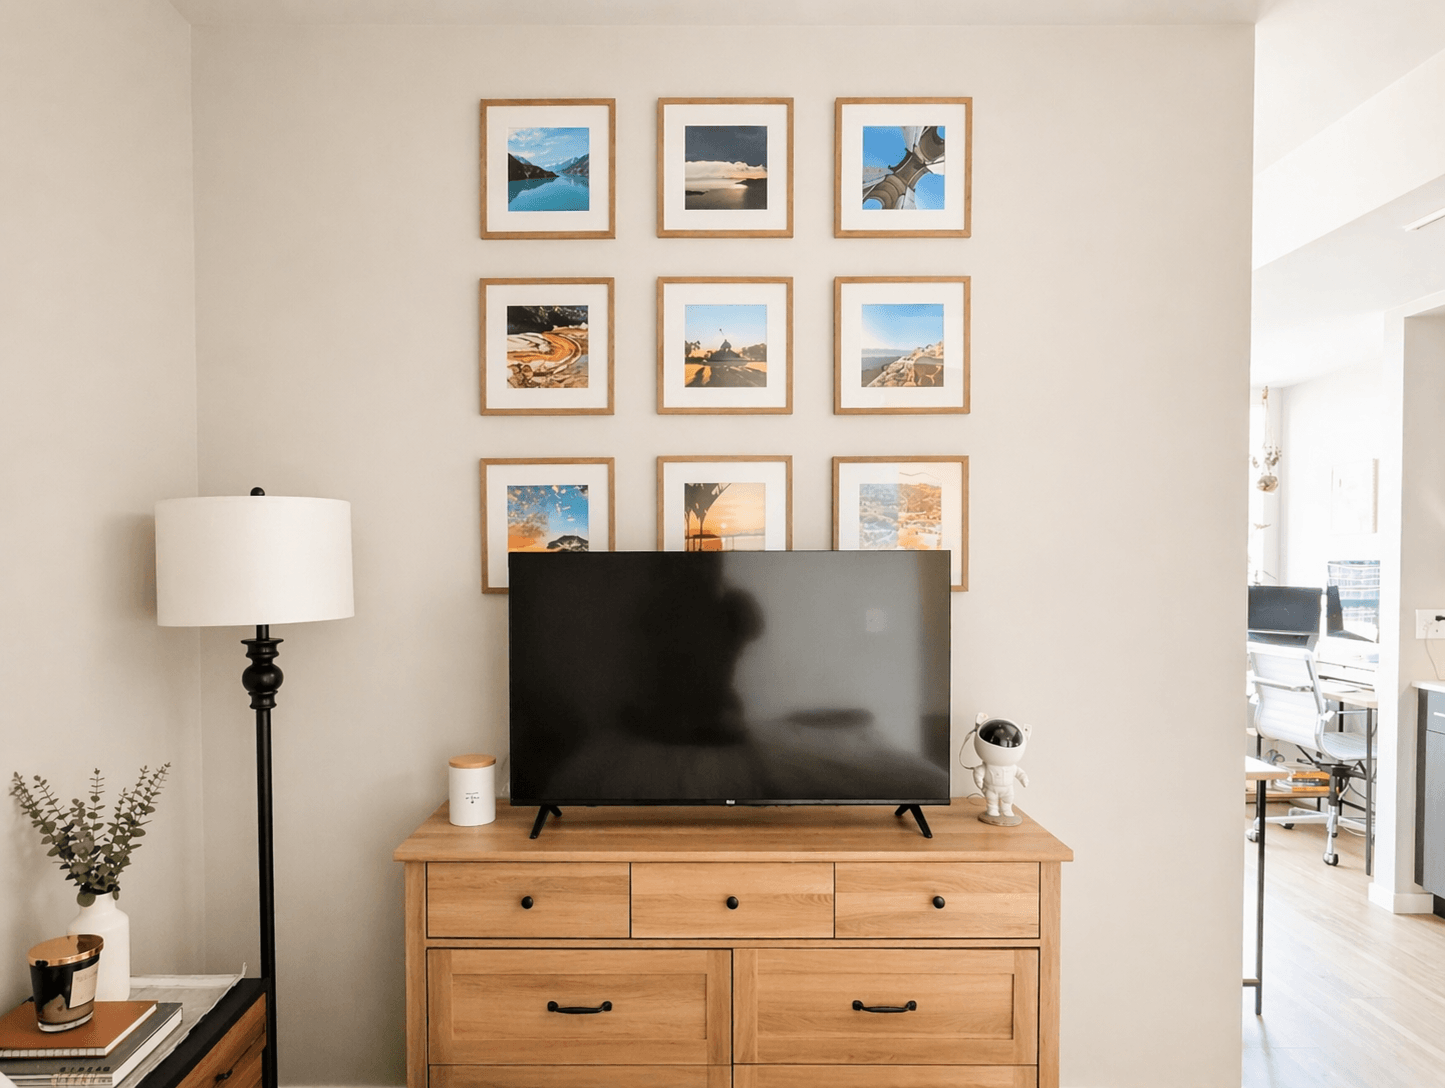
The wall sits right at the center of my apartment and brings in so much color and life.
If you have a blank wall and don’t know what to put there, this is worth trying.
You don’t have to use travel photos. It could be anything:
Family
Pets
Favorite places
Even a mix of everything
Pick a format you like, take your time choosing the images, and don’t stress about getting it perfect the first time.
You can always swap things out later.
At the end of the day, you end up with a space that feels like you. And in a small apartment, that matters more than anything.